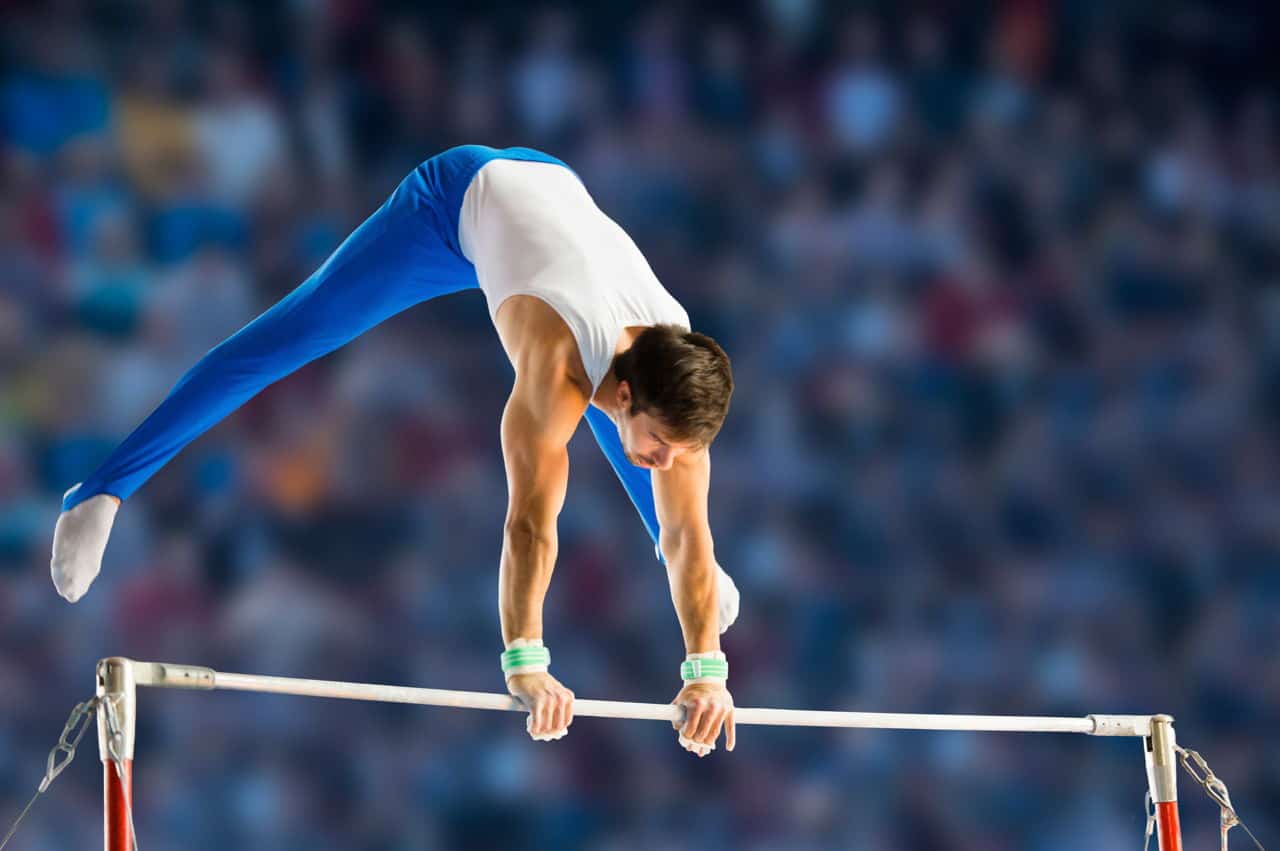
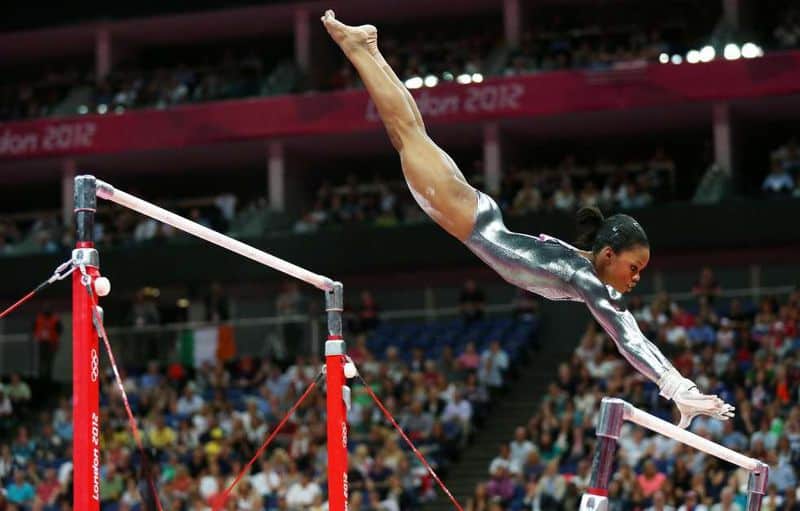
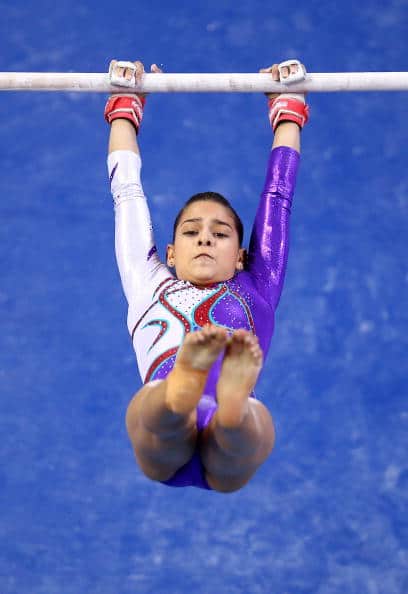
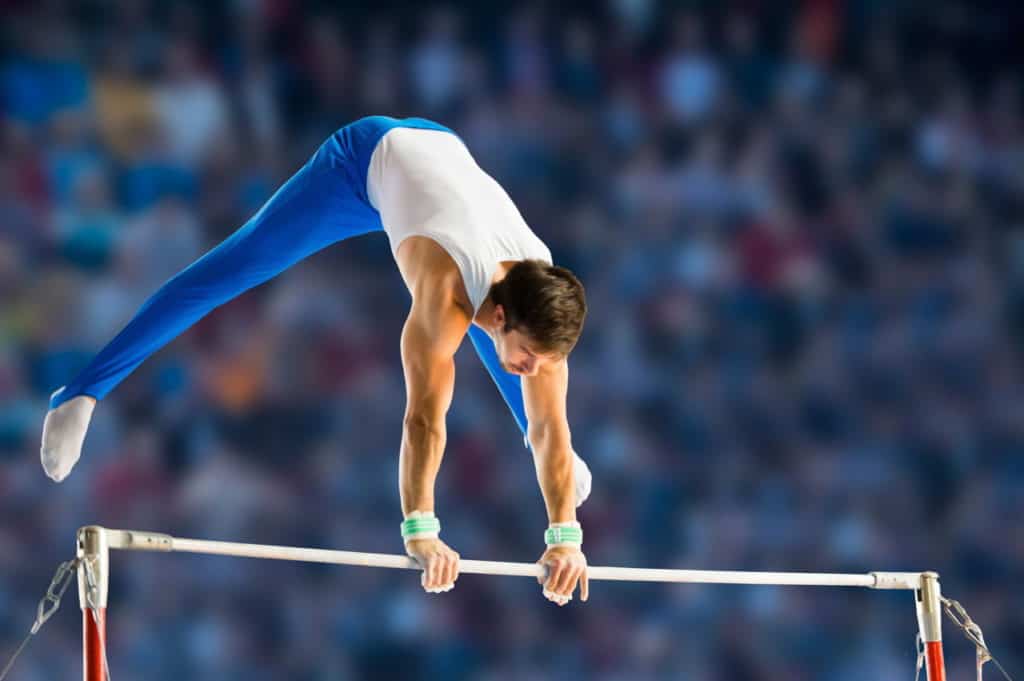
Gymnastics Kip always makes me think about physics. The kip, which is the move that a gymnast uses to go from a position below the bars to one with the bars at their waist, is known as gymnastics.
It’s cool that the gymnast begins in a position of low potential energy and ends in one with higher potential energy (here I mean gravitational energy in the Earth-gymnast) This is how it works. The gymnast has to do some work but her arms aren’t even able to bend. This is what I find fascinating
How to do Gymnastics Kip Step by Step
1. Glide
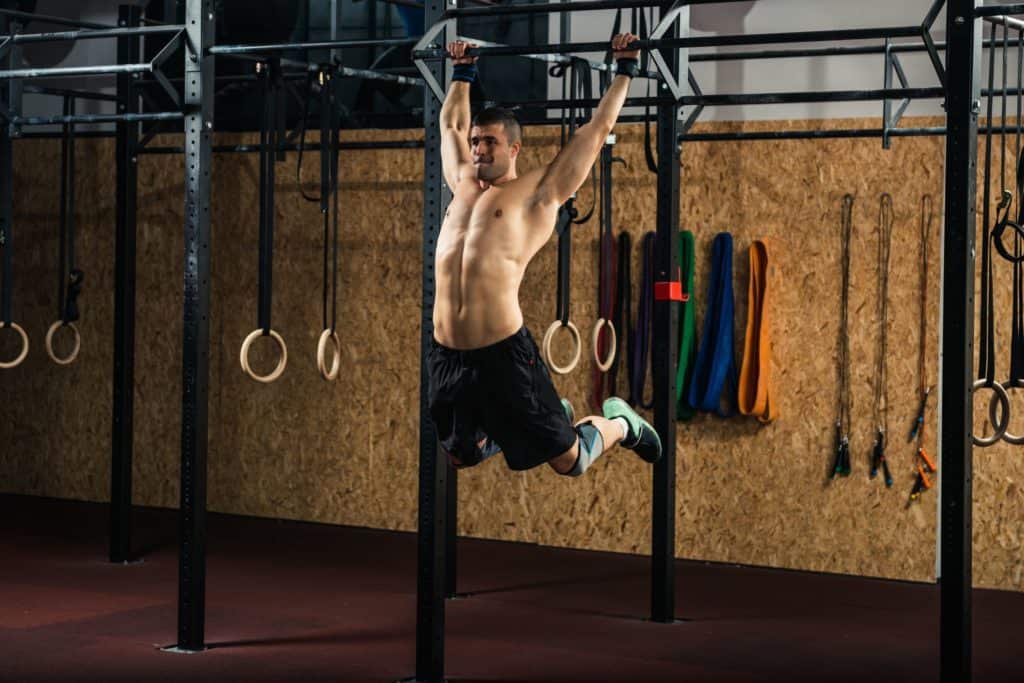
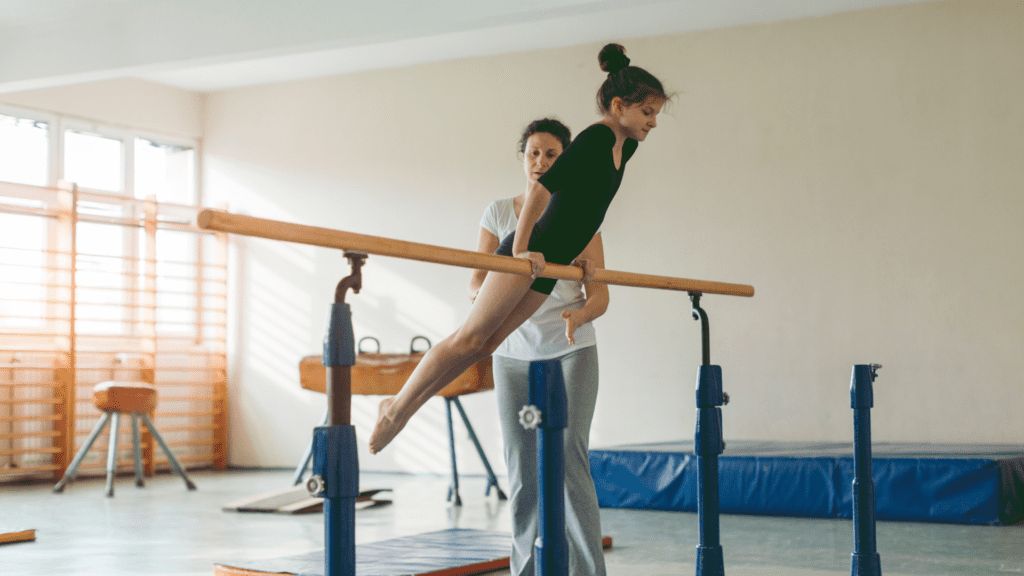
You will glide in the first section of the kip. Grab the bar and place your legs in a pike- or straddle position. Your hips should be fully open during the glide.
2. Pike-Up
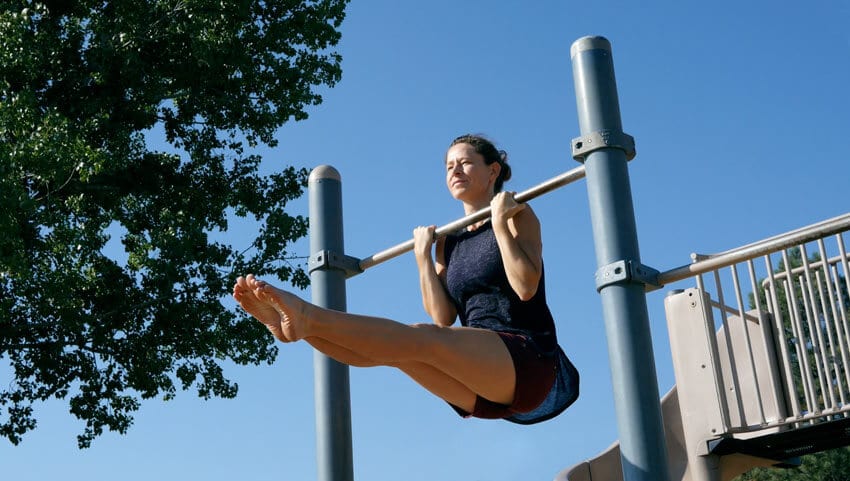
After you have extended your hips and legs in the glide, the pike-up involves lifting your toes up to the bar. Strong core muscles are required for this part of the kip.
3. Pull-Up Your Pants
The “pull up your pants” portion of the kip works in a similar way to when you are getting dressed. To finish at the top of the front support, you will be pulling the bar up towards your body and swinging backward.
WHAT MUSCLES ARE IMPORTANT FOR A KIP?
- Shoulders and Arms – To do a kip, you need strong arms and shoulders. Your arms straight support your body weight during glide and power the “pull your pants” portion of the skill.
- Core – During the pike-up portion of the kip your core muscles raise your legs to the bar. Then tighten your core muscles to pull your pants up during the “pull your pants up” step.
Learn To Glide Swing
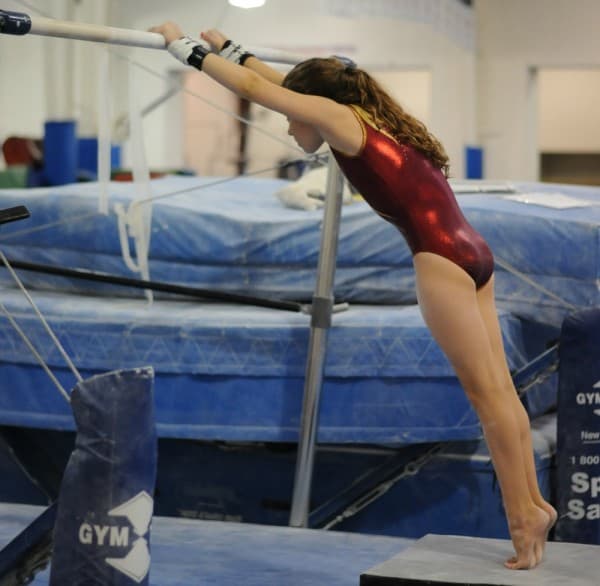
1. Keep at least three feet from the low bar. A springboard or flat foot may be used.
- If you stand too close to the bar, you might miss it when you reach for it.
- To catch the bar, you must jump both forward and up if you are jumping from the ground. You will be able to concentrate more on your jump if you are jumping from a springboard.
2. To prepare for the jump, bend your knees and extend your arms in front of your body. Your bent knees will prepare you for the jump. While your arms outstretched will allow you to catch the bar quickly and easily, you can bend your knees to prepare.
- To catch the bar more easily, align your hands with their height.
- Place your feet flat on the ground or springboard.
3. To jump for the bar, push forward from a slightly crouching position. To grab the bar, keep your arms straight in front of yourself.
- If you’re jumping from the ground, your arms will need to be higher than your head. If you’re jumping from the ground, your arms will likely be higher than your head.
- You only need a small jump to gain momentum and get your glide swing started. You should not force your jump too high, as this can cause your kip to go off track.
4. Grab the bar and start to glide your body under it. Once you grab the bar, hang from it so your body can swing under it.
- For your glide swing, you may want to keep your legs straight and your legs in a pike. Keep your hips slightly bent so your feet don’t touch the ground if you do so.
- You can also spread your legs out so that you are in a straddle position. This position allows you to keep your body straight and your legs can be raised high enough off the ground.
5. To extend your body to the other side, slide below the bar. Keep your legs straight and in a straddle or pike position until you reach the other end of the bar.
- Once you swing to the opposite side of the bar, your arms should be straight.
Learn to Pike-Up
1. Grab your stomach at the top of the gliding swing. The moment your body stops moving in one direction and starts to swing back is called the peak of the gliding swing.
- Preparing to fold your body in for the pike up, pull your stomach into a scooped position so it is easier for your leg lifts.
2. Elevate your feet towards the bar. Slowly lift your feet up so they point upwards as your body swings back.
- When you do your pike up, your torso should be parallel to the ground so your hips are at a 90-degree angle.
- While you raise your legs up, keep your legs in a straight line.
3. You can bring your best to the bar. Your toes should touch a bar at the end of your pike-up.
- This is the end of the pike-up. You will complete the kip by pulling up from this position.
- To maintain safety and speed, keep your feet and legs in the pike position.
How to Pull Up
1. Move backward from the top of the pike up. Keep your arms straight and allow your body to follow the natural swing.
- To make it easier to pull yourself up, keep your body close to the bar. Particularly, your hips should be kept close to the bar.
- This is like rocking backward under the bar. As you swing back, your head should be higher than the bar. Your legs will fall.
2. Your legs should be dropped while your body swings back. You can then return to a full pike position and pull up the next time you reach the bar.
- Let the momentum of your legs drop to propel your body upward. This will assist you in pulling up.
3. Lift your body above the bar. To pull yourself up, you will need to rotate your hips about the bar. This is why it is important to follow the earlier steps.
- As you pull yourself up, your legs will likely move back and forth from the bar. Keep your pike, but let them swing. They are following the natural momentum of the movement. This prepares you to take the next step.
4. Once your torso is over the bar, flick your wrists across it. This will allow you to keep your hands on the bar without falling off.
- Although you may need to move your hands a little to make them hold on to the bar, do not give up.
5. Your legs should be straight and your torso up. This is the end for kip. You can now continue with your bar routine.
- To help you hold your position, keep your abdominal muscles contracted.
- Your hips should be resting on the bar. Keep straight arms, and your eyes should be looking forward.
EXERCISES THAT YOU CAN DO IN YOUR HOME
Pull-Ups – Push-Ups are great for building arm strength and preparing for a kip. To perform a pull-up, face your pull-up bar. Place your palms on the bar and point your fingers away. Your hands should not be more than shoulder-width apart. Begin by doing a dead hang. Then, squeeze your shoulders and lift your straight arms up until your chin touches the bar. This is just one repetition. Slowly lower and then repeat. You must also perform a kip in the second half to master the skill.
Chin Ups- Although it is very similar to a pull-up, a chin-up works different muscles. It can be done the same as a pull-up, but you should grab the bar with your fingers pointed towards you.
Pushups-Pushups are great for building arm strength. Straighten your body and place your shoulders above your wrists. Bend your arms while squeezing your core. Focus on your body and keep your movements in control. To complete the repetition, raise your body by straightening your arms.
Planks –Plank exercises strengthen your core and arms. A plank can be done from your elbows or wrists. You should be pushing your core, legs, and butt into the plank position. Your shoulder muscles should reach over your elbows and your body should run straight from your head to the ground. You should be squeezing your muscles and keeping a straight-body posture while you do this.
V-Ups –V-ups are great for strengthening your core and mimicking the motion in the pike compression part of the kip where your legs reach the bar. Place your hands on the ground and place your arms above your head. Keep your legs straight and squeeze your legs together. Your core should be used to pull your legs upwards and your upper body off the ground. Be sure not to arch your back. Your hands should touch your feet. To complete the repetition, lower your upper body as well as your legs to the ground.
Kettlebell deadlift – A kettlebell deadlift is a hip-pulling exercise. In order to do a kip, a gymnast needs strong hip muscles. Standing with your feet shoulder-width apart, place your feet on the floor. Place the kettlebell between your legs and parallel to your ankles. Keep your back straight and look in front. Then, reach down and grab the kettlebell between your legs. Your shins must be straight and your lower back flat. Next, push through your legs and return to standing.
KIP DRILLS THAT YOU SHOULD BE ABLE to Do at the GYM
Glide – Focus on your body and extend your toes after you have completed the glide.
Sliders with Glide-Another great way to learn a kip is to glide with sliders.
Rope Kip – This is a drill some gyms use to practice. A bungee cord rope is placed on the bars, and the gymnast is able to perform the kip using the rope. This helps you learn how to kip.
The band pulls – To practice arm strength and movement for a kip you can use a theraband to do band pulls. You can tie the middle of your resistance band to something stable, such as a bar or stall bar. Place your back so that the band is in front of you. Grab the ends of the band using one hand. Keep your core tight and pull the ends of the band in front of you.
Variations
There are several types of kips: the long hang-kip (glide-kip), drop-kip, the kip with no stooping, and jump turn.
- You can use the glide-kip to connect or both a mount advanced skills. Glide kip is a swing that involves swinging in a hollow, piked position with your feet forward and then under the bars to get to a straight position parallel to the ground. The gymnast quickly extends and pulls his feet towards the gymnastics bar. Straight arms extend to reach the straight hollow front support. Taller gymnasts can glide kips in a straddle swing or piked hollow swing. The feet join at extension, and the feet connect at the end.
- The long hang kip requires the gymnast to be able to swing on the high bars and do a kip. The long hang kip does not look like a glide. It doesn’t swing horizontally and it does not swing in piked hollows. The long hang kip begins with a straight hollow swing under the bar. It performs kipping (pulling hard your feet towards the gymnastics bar while pushing your arms with the arms) before a glide kip.
- The drop-kip kip is used to train gymnasts. It can be used for strengthening muscles and teaching new students how to kip. The gymnast must be strong and have a lot of swings to perform the kip. The gymnast begins with front support and moves to a seated position. The gymnast will then fall backward, straighten his or her arms, and slide down the bar to get to their feet. Your feet and shins should be parallel to the bar. Once they’ve completed the small swing backward, they can start the kipping motion. Straight arms are used to push the bar forward until they reach the hollow support.
- The glide-kip can be done by keeping your feet straight while gliding between the women’s uneven bars and the arms. Gymnasts will use the propulsion of the kip to lift the low bar and catch the high one. This skill can be performed by crossing your legs over the bar, but not by pinching between your fingers.
- The jump uses 1/2 turn to kick and is performed with 1 turn. The kip requires a jump half-turn or full turn to catch the bar. The gymnast does not swing during a jump but instead kips in midair immediately after it is completed. When performing a jump, the gymnast turns full circle. This skill can be performed on the high or low bar.
F.A.Q.
What level is a kip in gymnastics?
A kip intermediate-level gymnastics move is used to mount or move between high and low bars. The kip is used in both men’s and woman’s gymnastics, though they are performed on slightly different equipment.
How long does it take to learn kip?
6 Months. It was there that I started the team. I continued to practice every day for about a month before I got a straight-armed kip. Before starting my team, I had never done long hang kips. I finally got it the first time I tried. It took me a while to master straight-armed kip.

