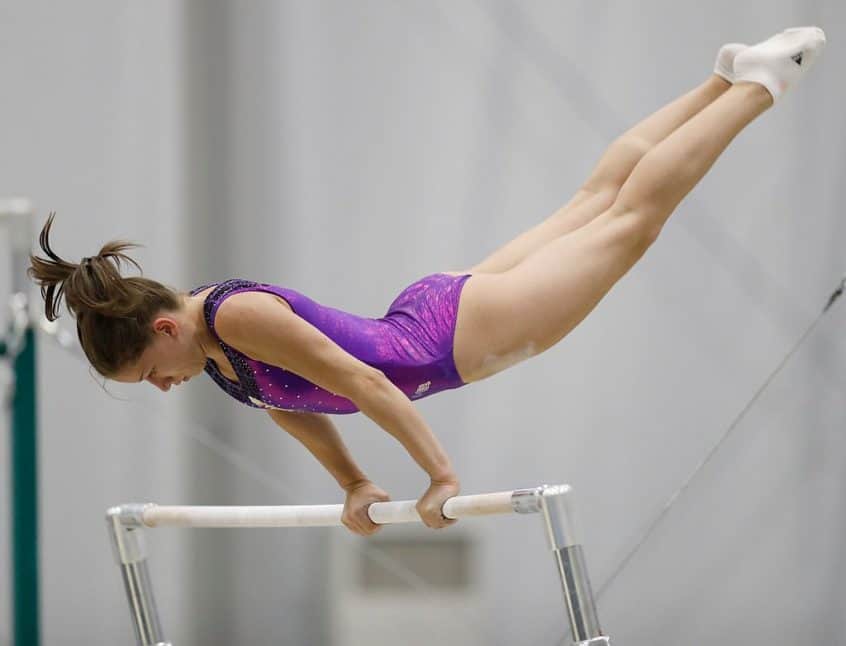
Both newbies, as well as seasoned gymnasts, will find it convenient and efficient to practice at home. But, it is not affordable to buy a gymnastics bar that is already made.
If this is you, then make a DIY gym!
Does Homemade Gymnastics Bar Make It Easy?
Although homemade gymnastics bars may not be as strong, practical, or functional as those made by commercial companies, they will allow you some simple movements to practice in your own home.
Additionally, a homemade gymnastics bar can be made in a matter of minutes!
Now, let’s learn how to build a home gymnastics bar!
For both professionals and beginners, practicing gymnastics at home can be time-efficient and convenient. You can’t be perfect if you don’t practice every day. However, a gymnastics bar that is already made can cost up to $1000. It’s a great idea to build your own gymnastics bar and use it as a part of your daily training. You will need a 4 ft long, 3/4 inch thick, steel or wood bar. Make sure the steel bars are threaded at each end. Wood glue, steel washers, and other materials are also required. It is very easy to make.
DIY Gymnastics Bar – Materials You’ll Need
These materials are needed for your DIY gymnastics bar project:
- Two 12 foot 2x4s
- Three 8 foot 2x4s
- One 10 Feet 2×4.
- One 4 foot long and 3/4 inch thick, made from either wood or steel. Make sure the ends of any steel bars are threaded.
- Wood glue
- Wood screws in 2.5-inch and 3-inch sizes
- Steel washers
- Optional. If you plan to use a length of metal bar, you’ll need two 4-inch long threaded bar pipes and four 3/4 inch couplers. Also known as bushings, and steel washers.
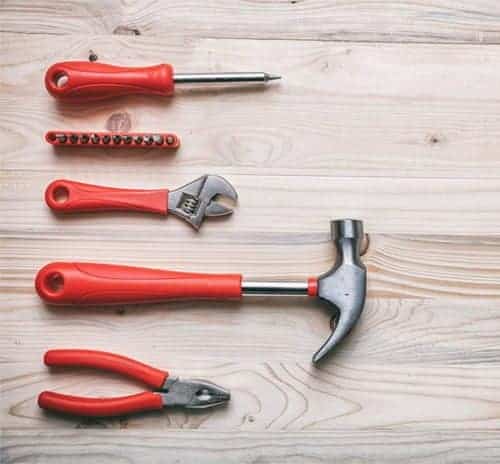
You will need the following tools:
- Saw, preferably a miter and circular saw.
- Hole saw.
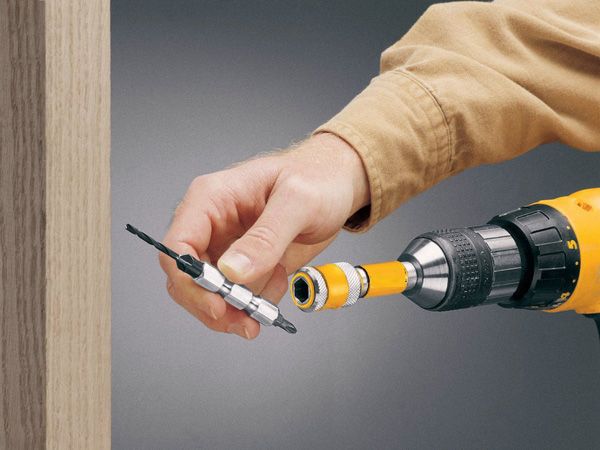
- Cordless screwdriver with drive and bits.
- Wrench.
You should be able to rent tools from local rental services if you don’t own them.
What kind of wood to choose for a DIY gymnastics bar
The wooden DIY gymnastics bar is common. Wood is inexpensive and easy to find.
Modern competition bars are usually made of a hollow fiberglass center encased with wood veneer. This combination allows the bar to be strong and flexible.
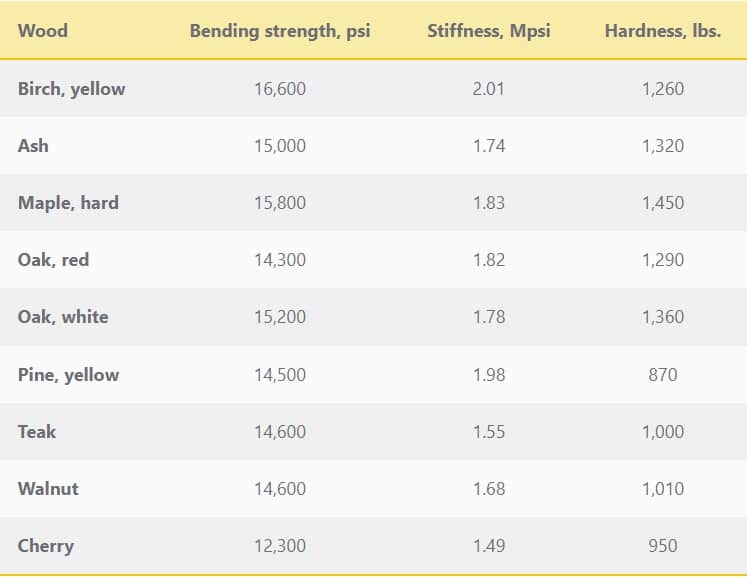
These are some strongwood species you might consider for your next project:
You won’t be able to build a competitive-grade gymnastics bar unless you have a large budget. If you have the money, it may be worthwhile to buy a commercially available gymnastics bar.
If you don’t have enough money to buy a high-quality gymnastics bar, you will probably stick with wood for your main material.
Cost breakdown
Although the equipment is easily made for less than $50, it’s recommended that you use better quality products. While these products may be more expensive, your child will still be safe. Below is a breakdown of the cost for each product.
Tools
For this DIY gymnastics bar, you will need some basic tools. They are probably already in most households. If you don’t have them, it is not necessary to purchase new ones.
You can borrow them from a friend or neighbor. You can also rent the tools from a hardware shop. These are the essentials:
- Saw
- Hole saw
- Wrench
- Cordless Drill or Screwdriver
There are other options if you don’t want to buy a saw, or don’t want to use it. You can get help at your local home improvement store. A drill-like tool, but with a wider end. For a 3/8 inch pipe use a 1-1/8″ hole saw.
Step-by-Step Guide
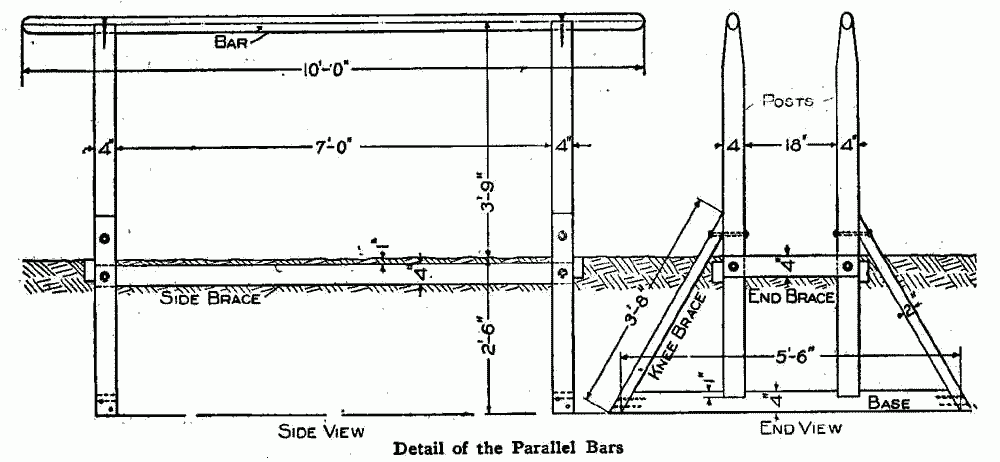
- Cut Legs – Take a 12 foot 2X4 and cut it in half. This will give you two 6 foot pieces. Do the same with the second board. Now you will have four of these 6-foot pieces.
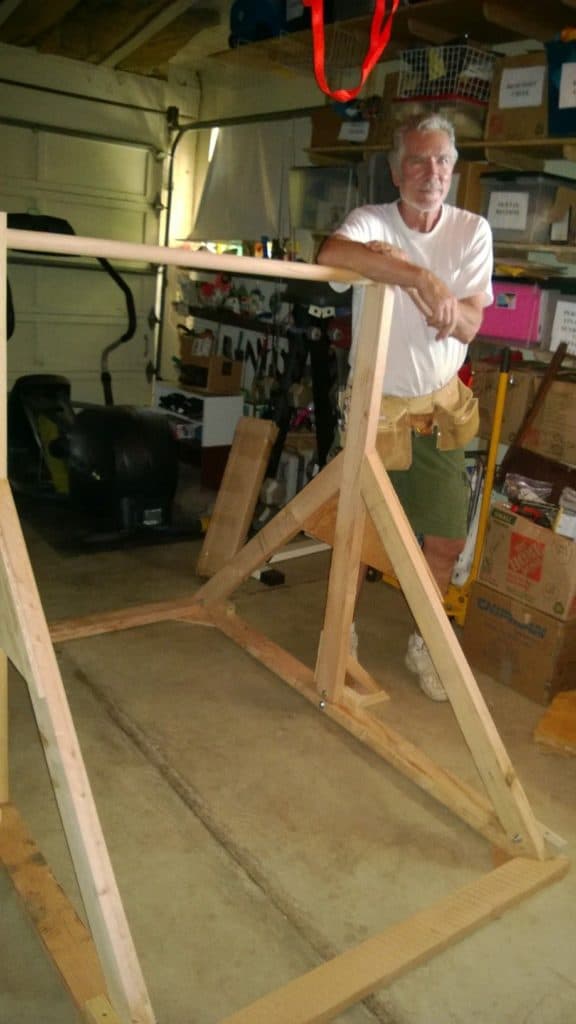
- Make Legs– Pick any 2 of the 4 6 foot pieces that you received in step 1. Use 2.5-inch wood screw to glue them together. You will get a 4×4 (double 2×4). Repeat this process with the remaining 6 feet. These will become the legs for your gymnastic bar.
- Cut Feet – To make the feet for the gymnastic bars, cut the 10 footboards in half. Two pieces of 5 feet each will be produced.
- Locate Crossbars – Find the longest of the 8-foot boards and keep it close at hand. Although they might differ in length, this is not going to cause any problems.
- Leg Braces – The remaining 2 boards 8 feet will be cut into 2 3 foot pieces. Cut the ends at 45 degrees. These braces will be used to support the legs and provide stability. It should be placed on the ground. If you look from the side, there will be tilted supports for the perpendicular frame. There will be 4 boards to serve as leg braces and 2 scrap pieces of two feet.
- Drill Holes – Measure from the floor to the desired height of the bar using the 4X4 (double 2X4). The bar should be placed around the chest of the gymnast. This is only a perimeter. You will need to determine the gymnast’s actual height. Refer to the section “The right height” for more information. Measure from the bottom to measure the bar height. Now mark the location of the hole. Now drill a hole of 1-1/8 inches through the 4X4 with a cordless drill. Do the same for the 4 X 4. (double 2X4)
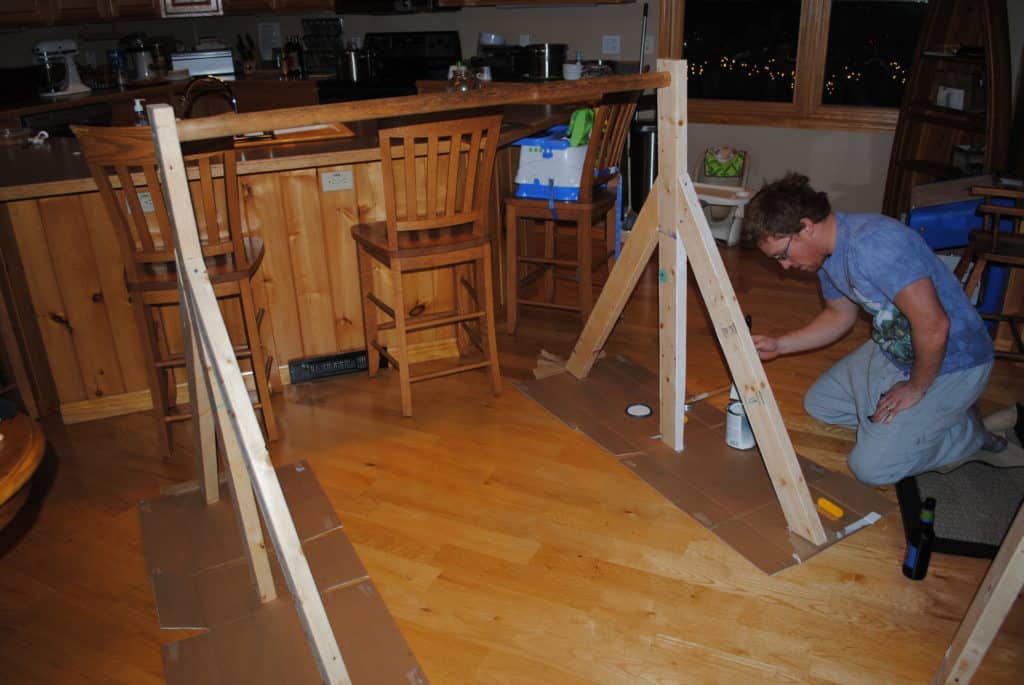
- Attach Feet – The step 3 product 5-foot boards (feet), attach to the step 2 product 6 footboards. Attach them to the base with 3 inches screws. Do the same for the other. Make sure that the hole for the bar you drilled in the four x four is facing the correct direction.
- Attach leg braces – Use the leg braces you made in step 5 (3 foot mitered). These braces will be attached to the legs and feet with three-inch wood screws. Two braces should be used on each side. Place the braces 25 inches apart on each side so that they form the edges for a square.
- Attach bar– To attach the wooden bar, place the bar into the holes and fasten it with screws. Make sure it is strong and stable. To make each coupler’s end, use a small 4-inch bar. Attach the bar to the coupler’s end by inserting a washer of steel into the ends. Do the same for the other side.
- Attach Crossbars – Now, the 8 foot 2X4 board that you left in step 4 can be used for stability and support. Calculate the width between the two legs. Cut the 2 X 4. These pieces should be attached to one side and the other using 3-inch or longer screws. You are done with your gymnastics bar! You are now done!
Be Careful With Gymnastic Bar!
You should read the instructions on how to make a gymnastics bar before you start digging into the details. This method is great for saving money on equipment for your gymnastics bar. Although it can’t replace a coach or gymnastics class, it is great for practicing.
One thing to remember: Practicing on a gymnastics bar without any guidance can lead to sloppiness. This situation can be discussed with your coach. For homemade gymnastics bars, you must always practice under strict supervision.
Yes, if the bar is made correctly, it would be sturdy and strong, but should not be used for swinging on, spinning, or flipping. After constructing it, it is important to inspect it closely.
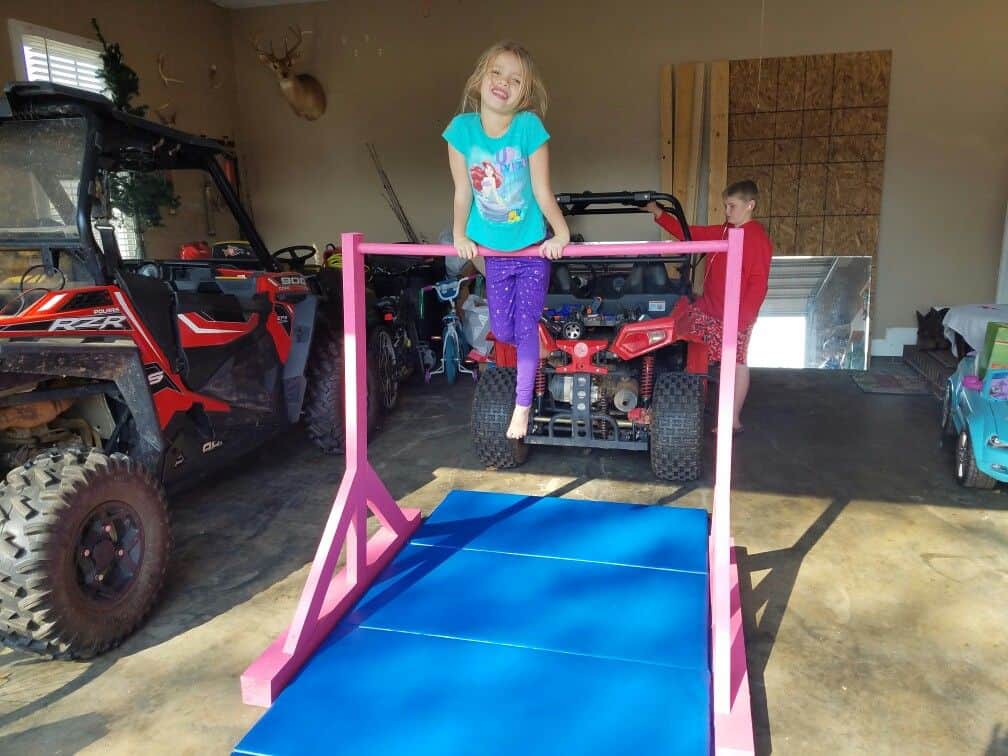
This homemade gymnastics bar works well for basic candlesticks. You don’t need to be skilled in order to make this bar.
To protect the player, always place a 4″ mat under the gymnastics bar.
A rough draft of how to make a gymnastics bar is available. You will need to adjust the fitting to suit your needs. It is important to emphasize again that this project should be tried and tested to ensure it is a good fit for you. Amazon sells gymnastics bars with multiple weight limits. A mini practice bar should not exceed 50 lbs. If the child is a teenager, it may not be ideal for them.
Lumber KEY and construction
- These 2 X 4-boards are approximately 1.75 inches thick by 3.5 inches wide. They are not 2 inches X 4.
- Measure lumber before making a homemade gymnastics bar. A 12 foot 2X4 will not be exactly 12 feet in length. Precision is not important in big nail work. Even though one side might be slightly longer than the other, it would not be a problem.
- The right height
You can refer to the gymnastics regulations for information about matting conditions. A low bar can be set at 38 inches to 53 inches. The height of your child’s nip bars can be determined by you.
Measure your child’s chest to determine the correct height. You will need to add a few inches depending on the gymnastics mat (landing Mat). Everything depends on the height and weight of the gymnast.
There are many options for an adjustable gymnastics bar. However, this would be very expensive.
How to Make a Gymnastics Bar Final Words
You can build a homemade gymnastic bar as long as you have the right tools and materials.
But, a DIY gymnastic bar for gymnastics is not the same as a commercially ready-made gymnastics bar in terms of convenience, durability, safety, and safety.
A ready-made gymnastics center is a great option. See more information on how to realistically set up a space at home to help kids develop their gymnastics skills. Even though it is more expensive, a gymnastic bar will likely offer a better solution for home training.
F.A.Q.
How Do You Make A Homemade Gymnastics Bar?
1. Cut Legs – Take a 12 foot 2X4 and cut it in half.
2. Make Legs- Pick any 2 of the 4 6 foot pieces that you received in step 1.
3. Cut Feet – … cut the 10 footboards in half.
4. Locate Crossbars – Find the longest of the 8-foot boards and keep it close at hand.
5. Leg Braces – The remaining 2 boards 8 feet will be cut into 2 3 foot pieces.
6. Drill Holes – Measure from the floor to the desired height of the bar using the 4X4.
7. Attach Feet – The step 3 product 5-foot boards.
8. Attach leg braces – use the leg braces you made.
9. Attach bar
10. Attach Crossbars
What Kind Of Wood Is Used For Gymnastics Bars?
Gibson Athletic states that the wood used in production is usually maple or oak. Competitor bars are made to a higher standard. Composite instead of wood allows for consistent performance of each piece of equipment.
What Is A Gymnastics Bar Made Out Of?
An artistic gymnastics apparatus is the gymnastics bar or asymmetric bar. It is constructed from a steel frame. The bars are made from fiberglass with a wood coating or, less often, wood. English abbreviations for gymnastics scoring events are UB or AB. The apparatus and event are commonly referred to as “bars”.

