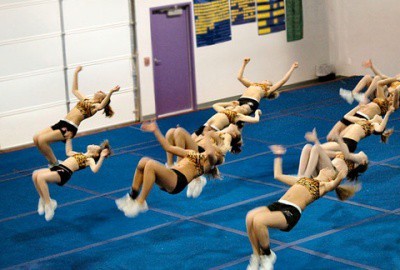
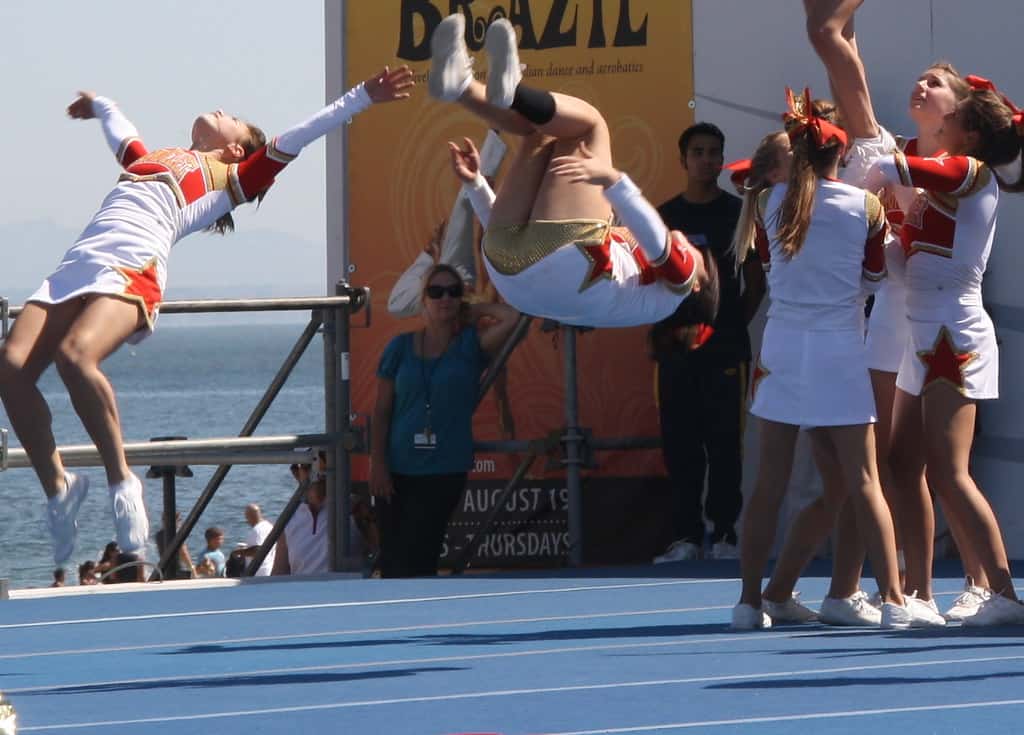
Are you looking to learn how to do a standing tuck back for cheerleading, gymnastics, or tumble? This article will teach you how to master this move in any sport. This is a great skill that you can show your friends.
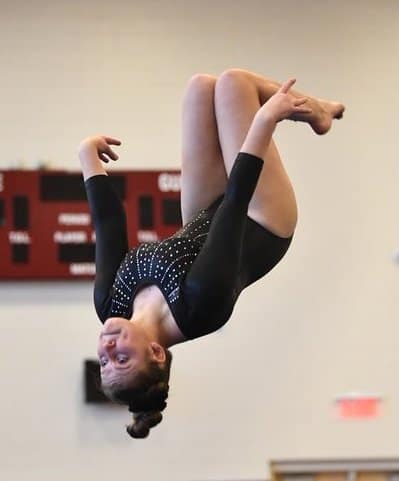
Standing back tuck is jumping in the air, propelling your upper body forward, and accelerating your feet ahead of your head. To flip your legs, place your knees under the chest.
If you are looking to improve your skills in a particular sport or just to impress your friends, this is the right place to start.
This article will explain the steps necessary to master this skill. This article is broken down into steps that can all be used together. You will master each step if you are able to master it.
Five Steps to Master Standing Back Tuck
Prerequisites
- Vertical Jump To master the standing back twist, you must be able to jump vertically. If you wish to master this move, then this category is crucial. To perform a back tuck, you can use momentum or the floor’s spring. Because you can’t use extra spring or movement, standing back tuck is more difficult.
- Back Handspring- You will also need to know how to do a back handspring. If you have a strong handspring, you are ready to learn how to master standing back-tuck.
Step 1 Master a Higher Back Handspring: Once you have met these prerequisites, you are ready to move on to step 1. You will learn how to do a high-back handspring. This step reduces the impact of your hands on the ground. You can continue to perform this step but you should try to minimize the impact of your hands hitting the ground with a back handspring. You can do this by focusing on your strength and verticality at the beginning of the move.
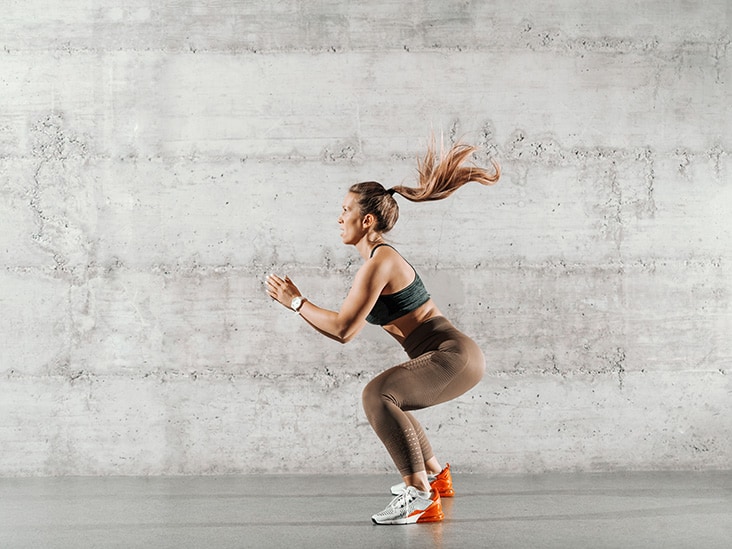
Step 2 – Rep out Eagle position to Vertical jump: Once you’ve mastered the high-back handspring, and can perform it without touching the ground, you can proceed to step 2. This is where you will rep out of the eagle and perform a vertical jump. As you can see, this will allow you to squat with your hands behind you and then jump into a vertical position. This is an important step to increase our strength and prepare us for step 3.
Step 3 – Perform a standing back tuck between two surfaces. This will allow your body to rotate and allow you to keep your feet under you as you learn the move.
You should avoid two things for this step:
- As you can see in the image, your hands should not be placed behind your hamstrings. It is safer to rest your hands just below your knees and lower shins. If your hands aren’t quite ready, you can quickly reach the ground by placing your hands below your lower shins. This is not a move for the faint-hearted.
- Choose your landing surface carefully! This is an example of an air track that uses concrete as its landing surface. Make sure to have soft landing surfaces before you start this step. Air tracks can be used on harder surfaces but a gymnastic panel mat or mat should be placed underneath. Another option is a pit.
4 – Master the move on a surface that has a spring. This will give you the opportunity to perform the back flip over a surface with spring. This step can be practiced on many floors. Once you feel you have completed the rotation, you can go on to the last step.
Perform a standing back twist on hard surfaces. Don’t forget any steps. If you are attempting this movement on hard surfaces such as the ground, pavement, or hard floors, you should have a professional spotter. Once you are proficient in this movement, it will be yours to carry with you throughout your entire life. You can keep your vertical leap and overall strength straight and repeat the steps if necessary.
Hand placement during the Standing Tuck
One of the most concerning trends I have seen over the years is when athletes grab at their hamstrings or their backs while performing a standing back-to-tuck (or RO BT).
This is inefficient and ugly. This gives you little control and doesn’t allow you to learn more advanced skills. It can also be very dangerous.
Are you skeptical about my claims? Here’s how it works: Stand straight and tuck your knees. Now, place your hands on the shins. Now, turn your head so that you are on your back. At the very last moment, grab your hands and hold onto them. It’s possible to do it, and still, look stunning.
Now, grab your hamstrings behind your legs and get back in the tuck position. Now, turn your head forward and catch yourself at the end. This time there will be a slight delay in speed, but it was still very difficult.
A tumble can last for half an hour, or even longer. It can mean the difference between saving your life or falling on your face (see example below).
Although the video is incorrect in many aspects, I have witnessed the exact same incident repeatedly. You can trust someone who has been doing it for a while and grab your shins. You will be thankful later.
“But Coach! I feel like my legs need to be pulled over or I won’t make it!”
You don’t have the core strength to propel your hips forward and bend your knees above your head, then you are not ready for an SB test. To test your tucking ability, you can do a RO BT with your arms at your ears and without grabbing anything. If you fall short, it is likely that your rotation speed needs to be improved.
Instead of resorting to a band-aid solution that involves pulling your legs up, focus on strengthening your core and hip drive. This will improve your tucks as well as your fulls and layouts.
You can cheat a tuck right now. But what will you do when you need to make a layout double twist? Grab one side of your body and pull yourself up in mid-air. It’s not, I believe.
Are you Strong Enough?
As a coach, it is my responsibility to be truthful with my athletes. Sometimes this means telling them things that they need (even if they don’t want to). Let me be clear and say that if your vertical high jump is poor, you will never reach the SBT.
Unlike a RO BT, where technique, angles, and momentum can give you the height you desire, the SBT requires that you generate power, more power from very little. Strength plays a significant role in this equation.
You can increase your jumping power by reading my entire article. The article also includes a conditioning program you can use that relies on explosive movements, proper squats, and resistance training with weights.
Here’s a simple leg conditioning routine that you can do with your bodyweight if you don’t have weight.
[Sets] = [Reps]
- Bodyweight Squat 2×20
- Jump Squats 3×15
- 2×20 Eagle To Straight Jump (Drill 1)
- Straight Jump Rebounds 2×100
- Calf Raises (one foot at a time). 2×30
This program can be done after your SBT Training session, or whenever you aren’t tumbling. Conditioning doesn’t make you stronger immediately. In fact, it can cause muscle strains and micro-tears.
Once you have recovered, you become stronger. How does your body heal? Well, it needs two key ingredients: Sleep & Nutrition.
If you don’t have these two essential ingredients, your muscles won’t be able to grow bigger and more powerful. A high-protein diet is generally recommended, but it’s important to remember that carbohydrates can help prevent muscle tissue from being damaged during training. The key to carbs is knowing what kind of carbs you should eat and how much. The Cheer Diet has more information. This diet was created to improve the performance and efficiency of tumblers and cheerleaders.
What Sports Do You Need to Be Able to Perform a Standing Back Tuck?
A cool party trick that can be performed in front of friends is the standing back tuck. However, there are some sports that require a standing back-tuck.
Gymnastics
You will need this skill to perform floor routines for women’s gymnastics once you have reached the upper levels. This skill is also required for men’s gymnastics to be able to perform floor routines at higher levels.
Cheer Leading
In the last two decades, cheerleading has grown in popularity. There are tournaments and clubs for children starting in elementary school. The sport becomes more difficult as the team moves to become more complex. Many cheerleading routines include standing back tucks.
Tumbling
Tumbling requires that you can stand back tucks. This movement is essential for this sport.
Dancing
Dancing is becoming a popular sport. While it is not necessary to do so, tumbling in dance routines has become more common. You can stand back tuck and be the star of your team’s dance team. Many of your fellow teammates may not be able to.
What Gymnastics Apparatus Requires a Back Tuck?
You will perform back tucks on your vault, beam, and floor in gymnastics. Because the vault and floor are where you will be running, or tumbling into, a standing back tuck can only occur on the beam.
As you move up to the higher levels, it is important to have the basics of standing back. You can add many other movements to the standing back tuck.
If you are looking to improve your gymnastics skills, it is essential that you master this move.
How To Do a Back Tuck on a Gymnastics Beam
Standing back tucks on a beam are one of the most difficult. This is a complex move that requires multiple steps to be completed on the high beam. If you try this move, always use a spotter. Many gymnasts find this movement difficult. This skill can be achieved with confidence if you follow the steps below to get to the high beam.
These are the steps you need to follow to master the back tuck in the high beam.
- Learn how to stand back on a hard floor. You will need to know how to do a solid back-tuck from a hard ground first.
- Draw a line across the group and do the back tuck. Throughout the whole movement, stay on this line. You are not ready to move on to the next step if you don’t manage this step consistently.
- Begin with the low beam and placemats on either side. Avoid injury by placing mats along both sides of a low beam. You can do the back tuck on a low beam consistently without falling off, and then you are ready to move onto the high beam.
- Do a standing back tuck with a high beam!
Standing Tucks are Simple
While it is understandable that some people are willing to pay $30 an hour for lessons on standing tucks in private, standing tucks can be very simple. They are actually the easiest tumbling skill in cheerleading other than forwarding rolling.
What’s the point? Do you find standing tucks difficult? Yes. Standing tuck is both hard and easy. Let me explain. Standing tucks are easy to perform. Standing tucks require exceptional athleticism so they are difficult. This article will discuss the mechanics behind a standing tuck, as you may have guessed. First, let me share a few examples that illustrate my observation about how simple tucks are in comparison to more complicated tricks.
A cartwheel is more complex than a tuck. You have to change directions, from forward to backward, while it is inverted. The back tuck does not have such complications. The back handspring is much more difficult than a back-tuck. It is important to be able to sit perfectly, jump at just the right time, and look at the correct place. A front tuck can be done in the same way as a back one. A front tuck requires a blind landing. You will not be able to see the ground again after you invert. Depending on how good you did, this could happen when you are on your feet or your seat. You should be able to see about 1/3 of the ground with a back tuck. There is plenty of time for you to find your landing spot and stay there.
Watching men tumble is another way to see how easy a back tuck can be. A million girls have complained about how fast a football player can throw a back tuck in just 15 minutes. Is that possible? Because they are strong and athletic, which more than compensates for the lack of experience in tuck technique. But, men are known for making a mess of their tuck technique by doing crooked, silly-looking round-offs and back handsprings. These tricks require more practice and technique. To throw a handspring, you only need to be capable of jumping a few inches. To tuck, you need to have more core strength and jumping power.
Here are the basics of a reverse tuck. You must jump as high as possible. People should not overthink their jumps. People start thinking about a “tuck” and develop bad habits like jumping flat-footed (not pushing their toes off the ground) and throwing their heads back, which reduces their jumps as well as their height. They don’t do those things if they jump straight up. Fear is the main reason they don’t do a tuck. You might consider starting your rotation earlier if you are afraid of falling. This will allow you to get to your knees and reduce your leap.
This is the next section of the jump. It’s called the lift. I mean lifting your arms up above your head and keeping your eyes straight ahead. Now you can rotate by putting your arms in a stretched position.
Next is tucking. Tucking can be described as grabbing your legs and grabbing your thighs. It is false. Some people do standing tucks with no need to grab anything. To tuck, you must lift your hips high and reach over your shoulders. You can do it in a reverse roll. However, you will be at the top of your jump while in mid-air. Your hip flexors are the main muscles that rotate. These muscles attach to your quads and hips. These muscles can also be used to lift your legs with a toe touch. You can use your hip flexor to lift your hips by sitting in a chair with your knee bent.
Now, back to tucking. You can now tuck your legs by lifting your knees towards your hands with your hip flexor. Your arms should be fully extended above your head. It may be noted that my hips rotate me, not your legs as I said earlier. This is true, but your legs attach to your hips so your hips should follow. Does this make sense? It is important that your feet are in front of your body when you lift your knees. Flexing your feet can be helpful after you jump. You can drag your hips behind and decrease your rotation if you don’t do this.
When your hips are pointing over your shoulders, grab your legs under your legs. Personally, I prefer to place my hands in front of my knees. However, your arms should never be below your knees. Keep your legs straight and your arms up. This will raise your hips and allow you to turn.
Keep your eyes open and spot the floor.
You need to jump, stretch, raise your knees, keep your eyes closed, and land. It is very easy to perform a standing tuck. It is difficult to overcome fear and to be able to jump high enough and turn your hips quickly enough to perform the standing tuck. You might need some additional conditioning if you are not landing perfectly, but you are close enough.
It is simple, but it is hard to do a standing back tuck.
Conclusion
The standing back tuck is still one of my favorite skills. Because I took the time and practiced it correctly, it’s something that even my older joints can do. I am also grateful to the coaches who helped me.
Do not rush, and do the recommended reps.
Strangely, learning a skill takes a lot less mental effort than you think. Tumbling is a mysterious skill. Good luck and train hard. Please let me know how this guide helped you in the comments section below. Please share this guide with friends.
I hope this article was helpful and that you can master standing back tuck. Although this movement is difficult, if you are patient and take the time to learn it, you will be able to show your friends for the rest of your lives. This will help you get to the next level in many other sports.

