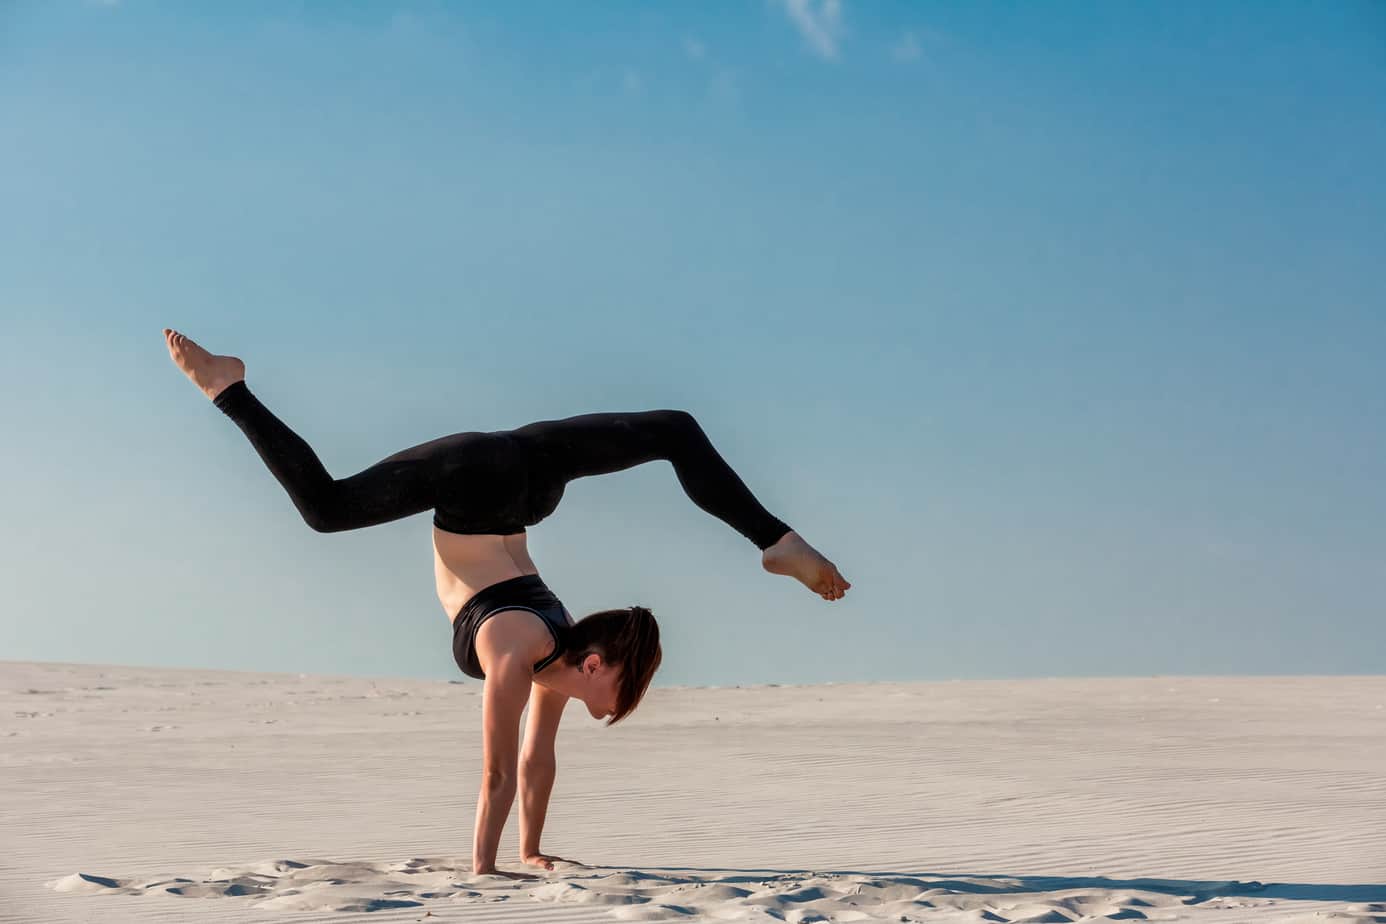
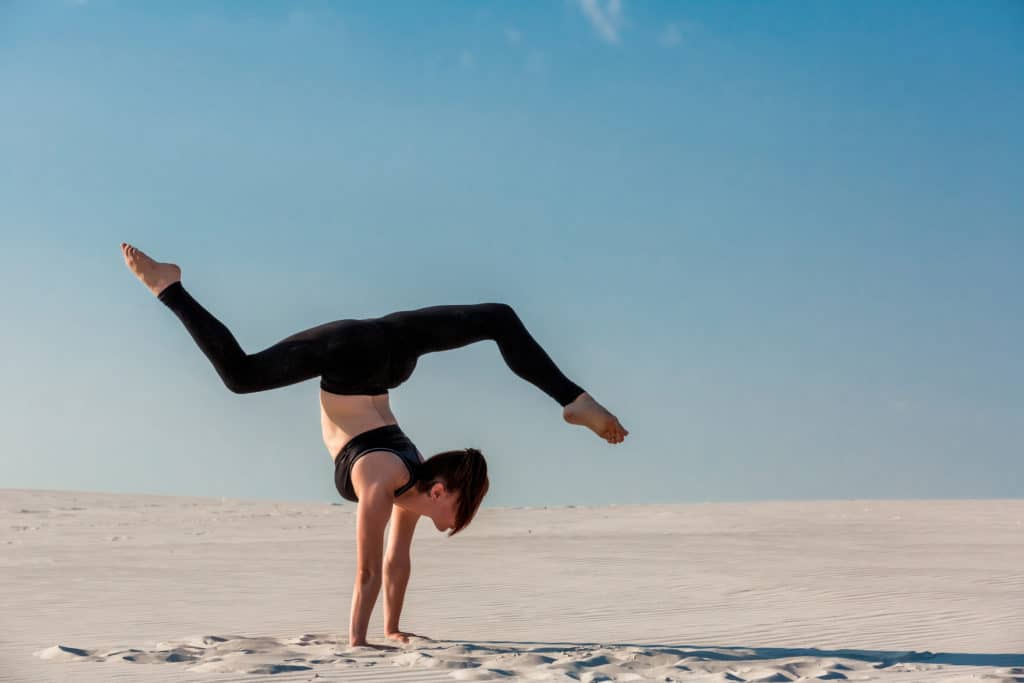
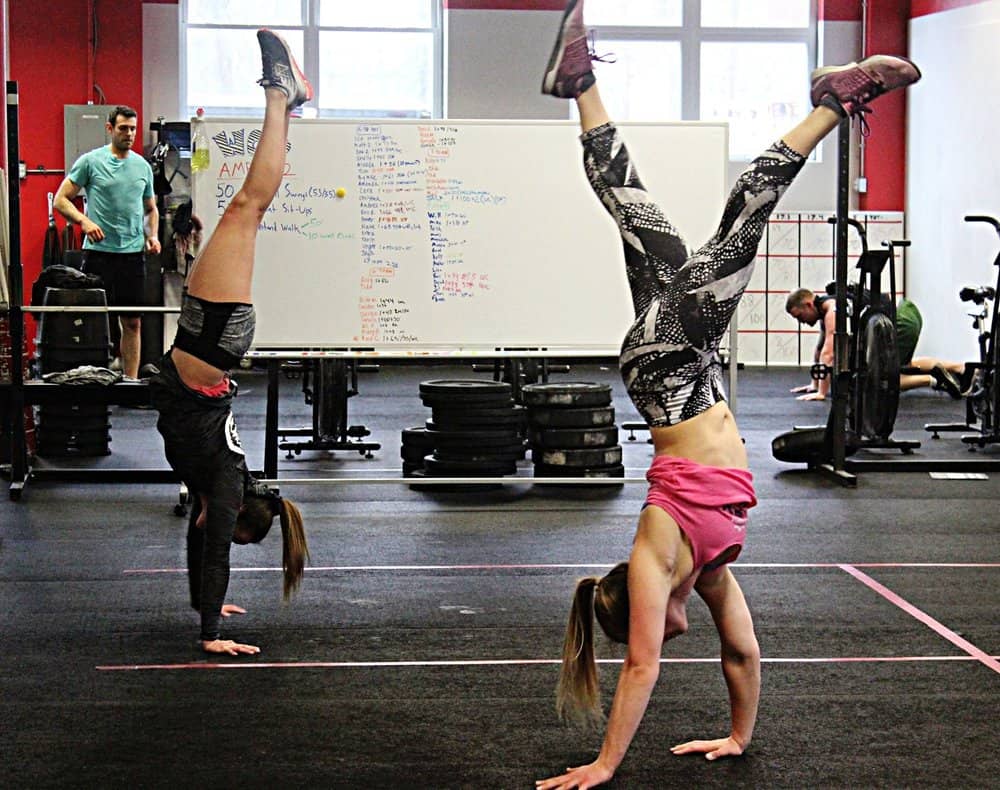
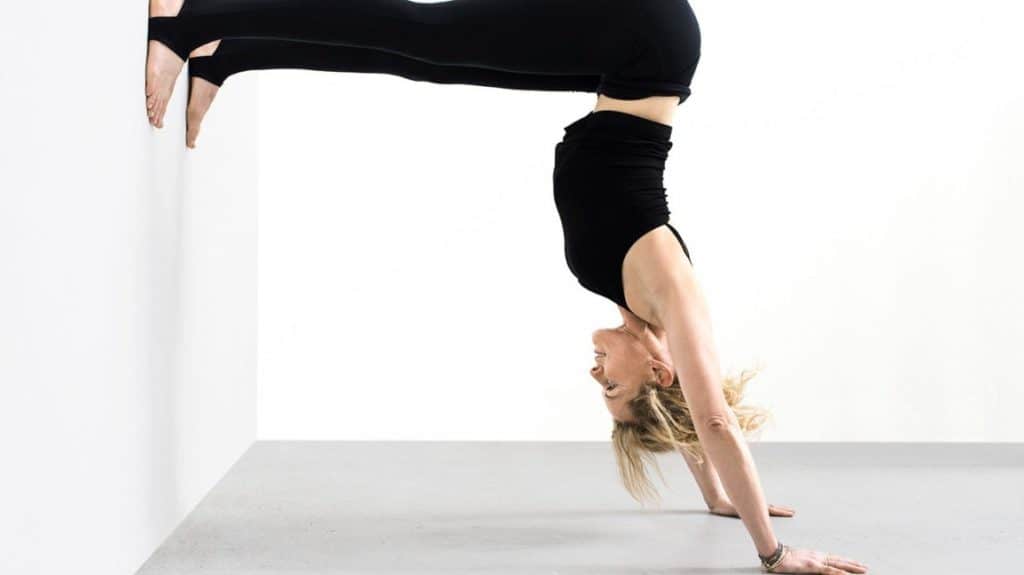
Handstand is a key skill in gymnastics. It is not only one of the basics for floor gymnastics, but the straight-body handstand position can be used in all other skills. Handstand positions include a giant on bars, a front handspring in the vault, and handsprings (rear and front), on both beam and ground. It is important to learn how to perform a perfect handstand and master it.
A handstand involves supporting the body in an inverted vertical position using your hands to balance on the hands. The basic handstand requires that the body be straightened with the arms extended and the legs fully extended. Hands should be spaced about shoulder-width apart with the legs and hands together. You can do many different handstands. Each requires balance, upper body strength, and a good understanding of.
We will share with you exercises that can be done to strengthen your muscles for a handstand.
Step By Step Instructions On How To Do a Handstand
Now that you are stronger from the handstand drills and have done conditioning exercises, it is time to try a handstand. These are the steps to follow:
1. Start in a lunge. Your front knee should not touch your ankle.
2. To do a handstand, lift your arms up. To feel vertical, you will need to squeeze your bottom and your abs while pushing through your shoulders. Try to move your toes towards the ceiling.
3. To land in a lunge, lower one leg at a stretch. Land in the same lunge as you started.
These exercises and drills should help you to learn how to do the handstand. You will soon be able to do a handstand if you practice the handstand drills and do strength exercises. After mastering the handstand, you are ready to move on to other skills.
Exercises You Can Do at Home
Here are some exercises that you can do at home in order to strengthen your muscles to perform a handstand.
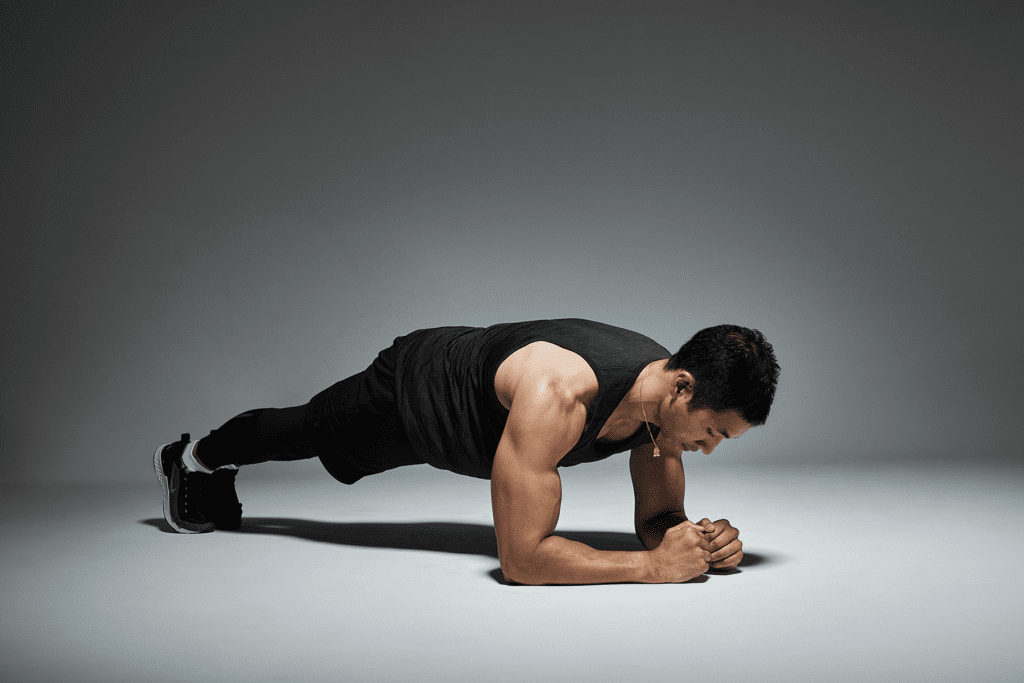
- Planks: To strengthen your core muscles, you can do planks. A plank can be done from your elbows or wrists. You should be pushing your core, legs, and butt into the plank position. Your shoulders should reach over your elbows and your body should run straight from your head to the ground. You should be squeezing your muscles and keeping your body straight while you breathe. Planks are great for strengthening your core and multiple muscle groups.
- Push-ups: These push-ups will help build arm strength to do press handstands. Straighten your body and place your shoulders above your wrists. Bend your arms while clenching your core and butt. Focus on your body and keep your movements in control. To complete the repetition, raise your body by straightening your arms.
- Pull-Ups: The pull-ups strengthen your upper body, arms, and shoulders. For arm strength, you can do pull-ups or chin-ups using pull-up bars. Pull-ups are done by holding the bar with your fingers in front of your body and pulling your chin up over the bar. Chin-ups are done with your fingers facing your body.
For a Good Handstand, You Will Need To Use Your Muscles
To master and perfect a handstand, you need to have strong arms straight and shoulders.
- Shoulders & Arms: To hold your body in a handstand, you need strong shoulders and arms. To help you keep your balance, you can also use your shoulders muscles.
- Core – To keep your body in a tight, healthy position, you need a strong core.
The Handstand Position – Basics
These exercises will help you to make steady progress to a perfect freestanding handstand. Let’s start our journey to becoming more knowledgeable about handstands, the basic skill.
Equipment to The Handstand Basics
The following equipment is required:
- Tape
- Wall
- Block
- Spotter
Tape. Depending on what surface you are working with, chalk might be a better choice than tape. Use a tape that is easy to remove.
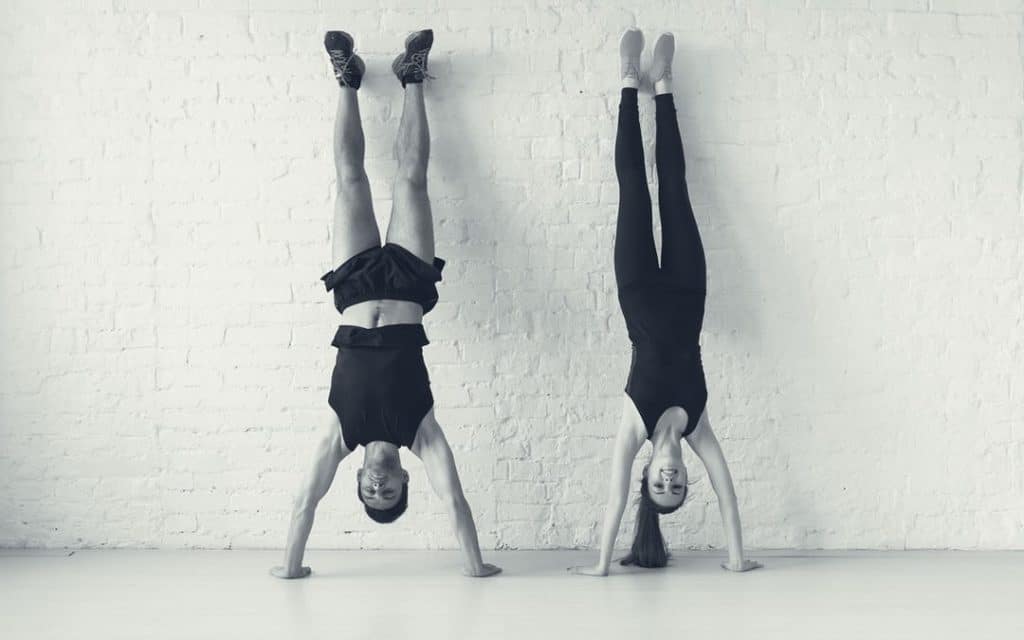
Wall. Access to the wall is required. You will need to have access to a wall. This handbook shows a brick wall to emphasize the point. However, in the real world, you don’t want to use brick walls. Instead, choose smooth walls that allow you to move your feet without injury.
Block. Block is optional equipment that is used in 2 exercises in this book. The block can also be used in other exercises.
Spotter. Some exercises require a spotter. You should ensure that the spotter is the same height and build as you, or larger.
Form
The form of a handstand is everything. The correct body position for the proper handstand is what will make you more successful.
Open Shoulders: If your shoulders are not fully open, it means you have an angle of 180 degrees. This is the same as if you arch in your handstand. This is a common error that requires a lot of practice and patience to master.
1. Don’t arch your back. Your body should be slightly bent.
Hollow position and work towards being in a straight line.
2. Make sure your ears are not far from your arms. Do not throw your earrings.
Instead of tilting your head back, tilt your head slightly so that you can see the ground below. For relevant exercises, see the section called “Shoulder Flexibility”.
Open Shoulders with a Block Once you have a good understanding of what open shoulders are, you can start to practice them.
Straight Legs. When in a handstand position, keep straight legs. Hanging your legs is a common beginner’s error. This happens when you arch while doing a handstand (a bad form).
Pointed Toes. It is a good rule of thumb to point your toes if your feet are not touching the ground. Common beginner mistake: Point your toes first in the handstand, not when you kick up into the handstand.
Walking. It is not recommended to walk while in a handstand for a hand-to-hand learning stand. You won’t find any exercises in this article that require you to move on your feet.
It is important to keep your form straight when you learn a handstand. This means that if your handstand begins to fail, you’ll walk instead of correcting it. Do not walk on your hands.
Hollow Body. The hollow body position can be one of the most difficult to master and understand. This position is also the most difficult to master.
These are the steps to create a hollow body position.
- Tilt your pelvis forward.
- Get your belly button sucked in
- Tighten your glutes.
- Turn your shoulders slightly in the direction of
Do not touch the floor with your lower back.
The hollow body position is best practiced on the floor. The hollow body position in the illustration is exaggerated. Your body should be straight when you are doing a handstand.
Arms Straight
At all times, keep your straight arms and parallel. Even if you lose balance, keep your arms straight. To maintain balance and form, use your fingers and shoulders.
Handstand: Keep your ears between your ears Your ears should always be between your arms when you’re standing and preparing for the handstand. Your ears will not be between your arms, and you will end up with your head back. This will cause your body to curve in a straight line. Your body will arch if you tilt your head back. This will prevent your shoulders from being open in your handstand.
Shoulders Shrugged
Turn your shoulders towards your ears. Shoulders Shrugged Turn your shoulders toward your ears.
Arms parallel. Keep your arms parallel. A handstand that is not stable will result in your arms being out of alignment. Your handstand will be more stable if your arms are not parallel. If you cannot see your arms, it is difficult to tell if they are parallel. To test if your arms align, you can practice in front of a mirror.
All handstands described in this article are performed with your hands facing forward. Handstands should be performed with your hands pointed forward.
Spread your fingers wide. Spread your fingers as wide as possible. Handstand stability will improve the larger the area you can cover with your fingers.
Shoulder Flexibility
The proper posture requires flexibility in the shoulders. Inability to move in a flexible manner will often result in the basic handstand being performed in a closed-shoulder. A gymnast who lacks flexibility might not realize they are performing the wrong handstand. You should have someone look at your posture when you are standing on your hands.
Bridge One common misconception is that the bridge position makes the back more flexible. Although the bridge can help to make the back more flexible, the main reason for practicing the bridge is to improve flexibility in the shoulders.
Stand with one shoulder bent with the wall Lay your hand flat on the wall, with your body parallel to the wall.
Bridge pressing your chest into the wall You can use a wall to help you find the right position.
Place your hands as close as you can to the wall while in the bridge position. Next,
Push your chest against the wall for 10 seconds.
Shoulder Stretch Starting From Standing Position
You can also use the floor to stretch your if you don’t have a wall. You must have arms stretched, shoulders.
Shoulder Stretch from the Knees: This is another variation of the exercise, which involves stretching from a standing position.
Push your shoulders towards the ground. To improve flexibility, you can press your shoulders toward the floor.
Warm-Ups to Handstand
Before you do any kind of exercise, warm up. These are some simple warm-ups you can do before doing your handstand exercises. Although this is not an exhaustive warm-up, it can be a starting point to help you create your own.
Arm Swing
This is a great exercise to warm your shoulders. You can also swing your arms in a circular motion. Make sure your arms are straight up when you raise them.
Do this with both your arms, in forwarding and backward directions.
Stretch Back Shoulder
As shown in the images, lean back. Adjust the amount of stretch you want by moving your fingers closer or further away. For 20 seconds, hold the position.
Wrists Outward
Place your legs under you and tuck them in. One arm should be lifted in front of your body and the other hand extended outward. Apply pressure to your bent hand with the other hand.
Stepping out of the Handstand
Each handstand you do with the lunge position includes a method for getting down. It is important to know which leg to lower first. To make sure you are able to step into the hand-stand, the back leg you walked into must be lowered first.
F.A.Q.
What is a gymnastic handstand?
A handstand, The act of supporting the body vertically in a stable position using your hands. This is the most fundamental position in gymnastics. … Upper body strength – The gymnast must have the ability to support their weight in an inverted position while balancing on their hands.
How do you do a gymnastics handstand for beginners?
Move your feet along the wall, bringing your hands closer to it until your belly is flat against its wall. For a few seconds, hold the position and then slowly crawl down the wall to return to your feet. Push-up Holds, Open Shoulder Push Ups, and Walks and Hops This drill will help you to learn how to properly handstand your body.
What level is a handstand in gymnastics?
The first skill is At the lowest level of competition, the athlete must be proficient The handstand is also known as the handstand. The elemental purpose for a handstand can be compared by gymnasts to the learning of crawling by a baby.

